
 De
De  Es
Es  Fr
Fr  Pt
Pt 

Template
Templates are used to create objects of the same type with the same properties.
An example of creating and applying a template based on callouts.
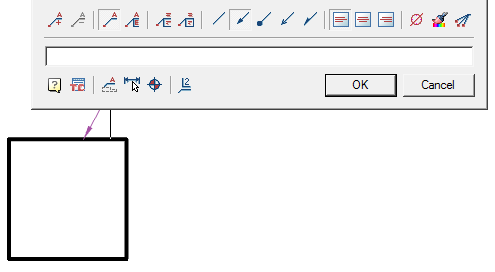
1. There is a rectangle of arbitrary area. Let's assign a note to it. Open the note editing dialog.
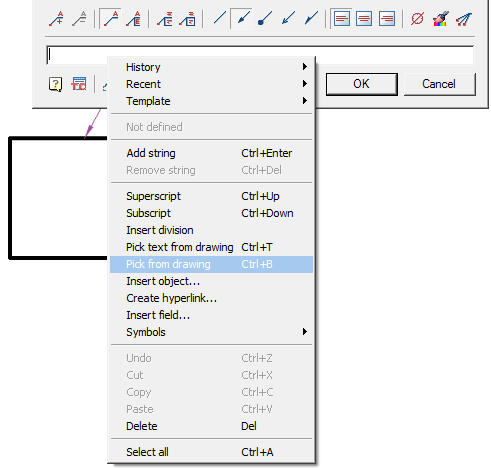
2. From the entry field callouts call the context menu and select the command "Pick from drawing". The "Value picker" dialog opens.
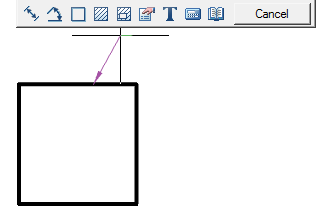
3. In dialogue "Value picker" call command  "Take from property.
4. Select a rectangle and press the key "Enter".
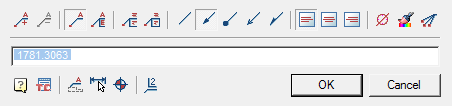
5. In dialogue "Properties" selecting "Area" and press "OK".
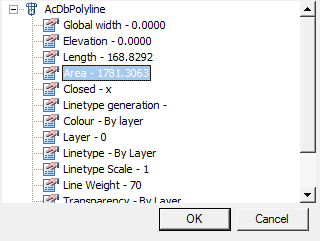
6. The link to the property appeared in the text of the note, in this case - the area of the figure.
| Note: |
If you right-click on the property link, you can call the formula editing dialog: In this dialog, you can get a formula with reference to the property of the object. For example: rounding up - ceil(#). |
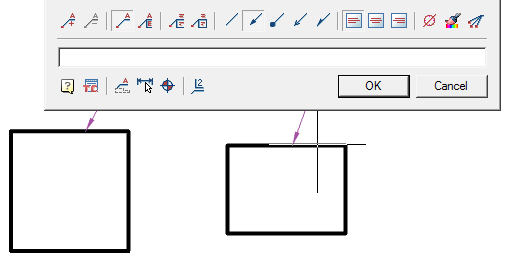
7. From the entry field callouts call the context menu and select the command "Template - Append".

8. Close the note editing dialog.
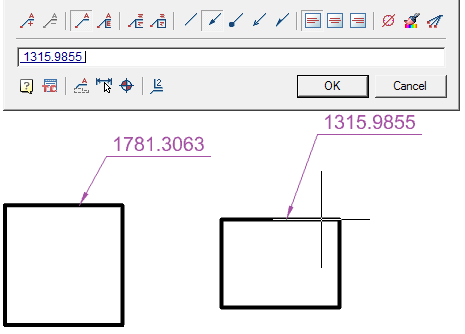
9. We build another rectangle, different in size from the first.
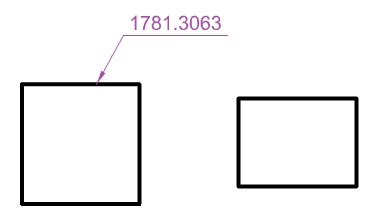
10. Assign him a note. Open the note editing dialog. If there is a value in the field, remove it.
11. From the entry field callouts call the context menu and select the command "Template - Polyline.Area".
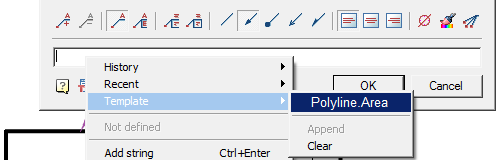
12. Select the second rectangle to calculate the area. The area will be calculated automatically.
Such templates can be used not only for callouts, but also for other elements, for example:
- position designation;
- node designation;
- note level field;
- e.t.c.