
 De
De  Es
Es  Fr
Fr  Pt
Pt 

-
-
-
-
-
-
-
-
-
-
-
-
-
-
-
-
-
-
-
-
-
-
-
-
-
-
-
-
-
-
-
-
-
-
-
-
-
-
-
-
-
-
-
-
-
-
-
Table editor
-
-
-
-
-
-
-
-
-
-
-
-
-
-
-
-
-
-
-
-
-
-
-
-
-
-
-
-
-
-
-
-
-
Table editor
The interface is opened by double-clicking on the table, or by selecting the "Edit" command from the context menu of the selected table.

The dialog box contains:
-
main menu;
-
parted cells with names (addresses) of rows and columns;
-
status bar with transparency and scale caret;
General Provisions
The names (addresses) of rows and columns are adopted similarly to the MS Excel spreadsheet editor. Vertical columns from left to right are named in alphabetical order in English letters (A, B, C, D,…, Z, AA, AB, etc.), horizontal rows are named in numbers in order.
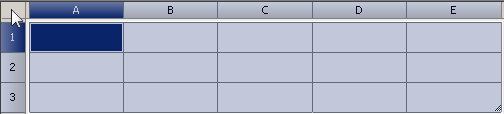
When you click LMB on a row or column name, it is selected.
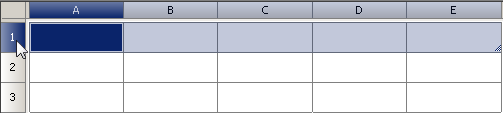
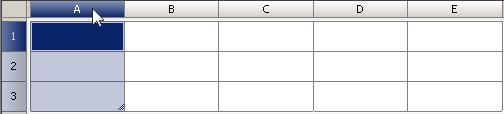
To select the entire table, select a rectangle at the intersection of the row and column names.
The shortcut "Ctrl + scrolling mouse wheel" allows you to change the scaling of the table.
The shortcut "Ctrl + click mouse wheel" sets the default table scaling.

When "View sorting" is enabled, sort buttons appear on the right side of the column headings. This sorting is intended to improve the convenience of entering data in the spreadsheet editor and does not affect the state of the table in the drawing.
The button has three states: "Not", "Ascending", "Descending".
| Not |
|---|

|
| Ascending |
|
| Descending |
|
Sorting features:
- Enabling sorting on one column disables sorting on other columns.
- Rows are sorted whole, not just the column.
- Strings are sorted within a section.
- The merging of cells is not broken.
- After enabling view sorting, the vast majority of commands are blocked. Allowed: exit, edit single cells and change sort mode.
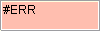
Cell color
|
- cell containing expression; |
|---|---|
|
- non-editable cell, for example, in a report; |
|
- cell with an error in the expression; |
|
- cell containing report section data; |
Filling adjacent cells with data
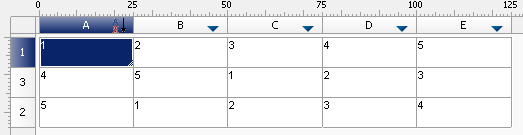
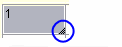
To speed up data entry into the table, automatic data filling functions are used. The spreadsheet editor can automatically continue a series of numbers, combinations of numbers and text according to a given pattern. You can quickly fill in different types of data series by selecting multiple cells and dragging the fill handle.
Filling cells with a sequence of numbers or combinations of numbers and text according to a given pattern:
-
Select the first of the filled cells.

-
Enter an initial value for a range of values.

-
Enter a value in the next cell to set the fill pattern.
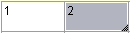
For example, if you want the sequence 1, 2, 3, 4, 5 ..., enter the values 1 and 2 in the first two cells. If you want the sequence 2, 4, 6, 8 ..., enter 2 and 4. If you need sequence 2, 2, 2, 2 ..., the second cell can be left blank.
As the sequence is completed, it continues as shown in the table below.
Initial value Continuation of the series 1, 2, 3... 4, 5, 6 ... 1st period, 2nd period 3rd period ... Product 1, Product 2 Product 3 ... -
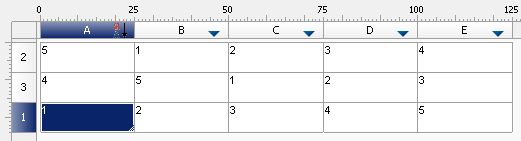
Highlight cell or cells containing seed values.
-
Drag the fill handle over the range you want to fill.

The cells will be filled with the specified sequence of numbers.

To fill in ascending order, drag the handle down or to the right. To fill in descending order, drag the handle up or left.