
 De
De  Es
Es  Fr
Fr  Pt
Pt 

-
-
-
-
-
-
-
-
-
-
-
-
-
-
-
-
-
-
-
-
-
-
-
-
-
-
-
-
-
-
-
-
-
-
-
-
-
-
-
-
-
-
-
-
-
-
-
-
-
Standard parts library
-
-
-
-
-
-
-
-
-
-
-
-
-
-
-
-
-
-
Standard parts library
 Main menu: Mechanical - Standard objects >Standard parts library.
Ribbon: Mechanical - Library >Standard parts library.
Toolbar: "Standard objects") >Standard parts library .
 Command line: MCSTD.
Inserting standard parts from the nanoCAD Mechanica database is carried out using the database manager, which can be presented in full (dialog) form and in the form of a tool palette.
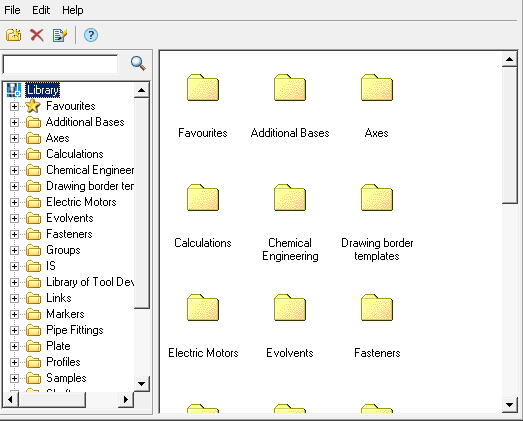
Inserting standard parts
-
Select the insert object.
-
After selecting the object, specify the insertion point for the object.
-
Select the insertion direction (not all parts need to specify a direction vector). The dialog box for selecting object parameters will open.
-
Adjust the options in the dialog box.
The standard dialog contains the following sections (sections are divided into tabs):
Important! The composition of the sections (tabs of the insert dialog) is determined by the class of the part, its parameters and the environment of the insert. The button
 "Dynamic input" turns on the mode of visual definition of parameters when inserting.
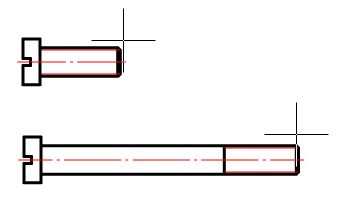
As you move the mouse cursor, follow the change in the size of the object. LMB click to confirm the selection of the parameter value.
The "Apply" button allows you to apply the selected parameter values to the object without closing the dialog box. This deactivates the "Dynamic input" mode.
Important! The description given here refers to the standard dialog for selecting parameters. Some objects of the nanoCAD Mechanica base use special dialog boxes. In special dialog boxes, the location of the controls may vary. Note: If the path to the custom help is specified in the "Help" parameter of the standard part form, it will be called if the focus is on the form control. If the focus is on the "Cancel" or "OK" buttons, the help for standard items opens.
-
Click "OK" to complete the dialog.
Toolbar Commands
- Add folder - Adds a folder at the specified location in the object tree.
- Delete - Deletes the selected object or folder.
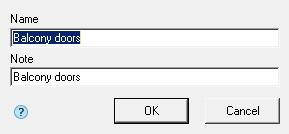
- Edit note - Changes the name and note of the selected object.
Context menu commands
- Import - Imports a base object.
- Export - Exports a base object.
- Send by email - Exports the object and sends it to the specified mail address.
- Cut - Cuts an object, folder.
- Paste - Inserts a previously cut object, folder.
- Paste shortcut - Inserts a shortcut to a previously cut object, folder.
- Add folder - Adds a folder at the specified location in the object tree.
- Delete - Deletes the selected object or folder.
- Edit note - Changes the name and note of the selected object.
- Publish- Makes the object visible to other users of the network database. Objects can be published by administrators and editors (editors only their own objects).
- Remove publish - Makes the object invisible to other users of the network database. Objects can be unpublished byadministrators and editors (editors only their own objects).
| Note: |
The "Publish" and "Remove publish" commands are only available to editors and database administrators. |