-
-
-
-
-
-
-
-
-
-
-
-
-
-
-
-
-
-
-
-
-
-
-
-
-
-
-
-
-
-
Smoothing
-
-
-
-
-
-
-
-
-
-
-
-
-
-
-
-
-
-
-
-
-
-
-
-
-
-
Smoothing
 Ribbon: Raster – Filters >
  Smoothing
 Menu: Raster – Filters >
  Smoothing…
 Command line: smoother (smoothing)
 This functionality is available only in the Raster module.
The filter smooths outlines of raster objects, fills in edge and internal background speckles, and also partially removes raster “garbage”.

Fragment of the original image
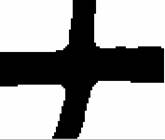
After smoothing
Work of the Smoothing filter consists of two stages. At the first stage it works like the Median filter on a grayscale image, analyzes the neighborhood of a given radius of each pixel and replaces the brightness of the central pixel with the average brightness of the neighborhood. As a result, the outlines of the raster object are blurred. Increasing the Medianning value makes gray strips wider.
At the second stage, the filter converts to black those pixels whose brightness value is less than the value of the Threshold parameter. Wide black lines show the binarization boundaries. Pixels inside boundaries turn black, outer pixels turn white. Increasing the Threshold value makes the objects thicker, while decreasing makes them thinner.

First stage – blurring edges


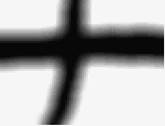
Second stage - binarization
1. Select images to be processed and run the  Smoothing command.
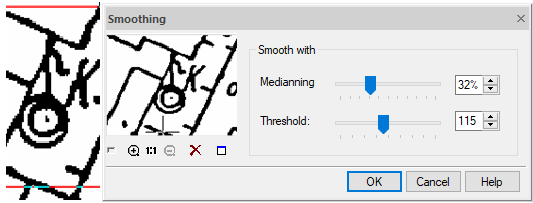
2. Set the Medianning – the degree of medianning in percent. This value determines the degree of blurring the outlines of raster objects.
3. Set the Threshold – gray level from 0 to 255. This value determines the degree of cropping of blurred edges. Higher values increase the amount of smoothing, but the raster lines get thicker.
Use the preview window to select the optimal values of the parameters.
4. Click OK.


 De
De  Es
Es  Fr
Fr  Pt
Pt 
