
 De
De  Es
Es  Fr
Fr  Pt
Pt 

nanoCAD Platform Help
-
-
-
-
-
-
-
-
-
-
-
-
-
-
-
-
-
-
-
-
-
-
-
-
-
-
-
-
-
-
-
-
-
-
-
-
-
-
-
-
-
-
-
-
-
-
-
-
-
-
-
Setting up a custom type specification
-
-
-
-
-
-
-
-
-
-
-
-
-
-
Setting up a custom type specification
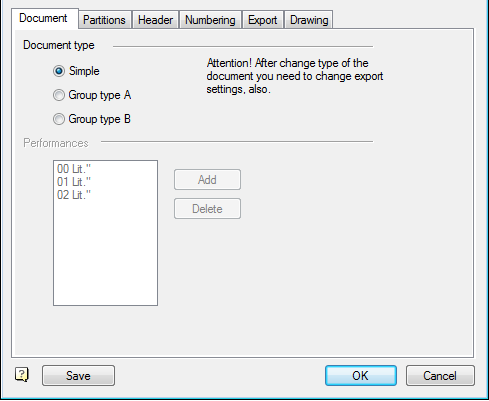
- Go to the drop-down menu Specification type simple.
- Go to the tab "Partitions".
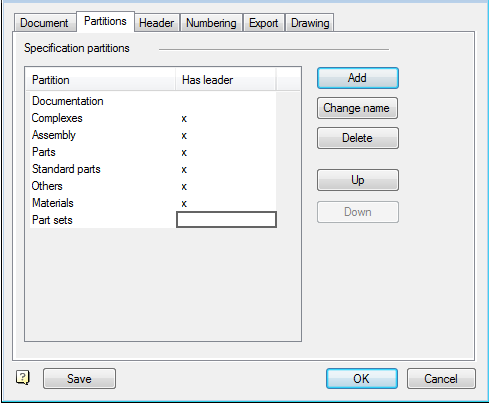
- Click on the Delete button and select the sections that you do not need or you do not use. In the sections of specifications provided by the State standard, The current setting, can be removed but removing them from the system is impossible. At any time, you can edit the style specification and return these sections.
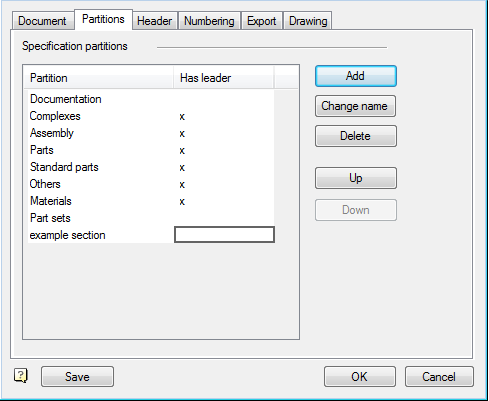
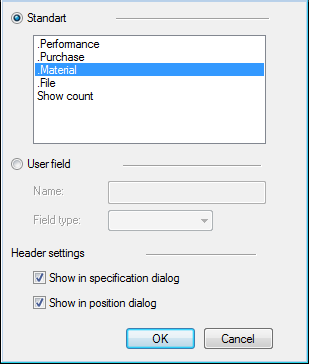
- Click on the Add button. At the top of the dialog box, in the "Standard", posted sections that are removed from the system. Go to "User Partition" and create your profile.

The result can be seen in the figure below.
- Go to the tab "Header".
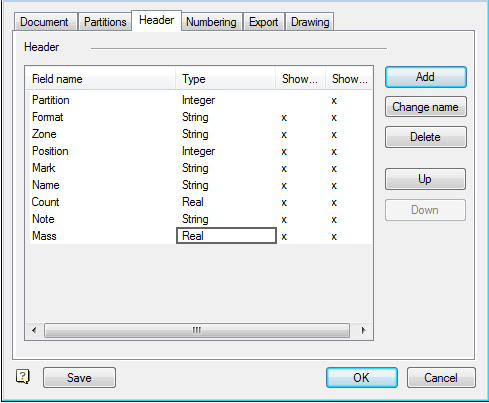
Add a new field type.
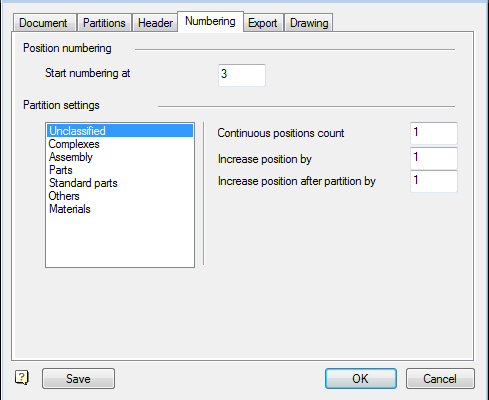
- On the "Numbering" it is possible to set a rule for the numbering and skip to the desired position.
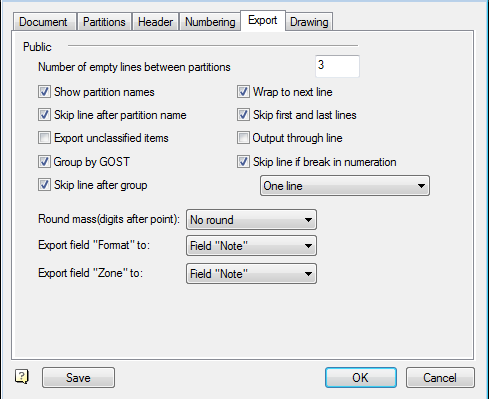
- Tab "Export" link provides specifications and user table that allows you to customize the specification of any complexity.
- Tab "drawing." On this tab, click the button
 . In the dialog box, choose from the database tables for the first and subsequent sheets.