
 De
De  Es
Es  Fr
Fr  Pt
Pt 

-
-
-
-
-
-
-
-
-
-
-
-
-
-
-
-
-
-
-
-
-
-
-
-
-
-
-
-
-
-
-
-
-
-
-
-
-
-
-
-
-
-
-
-
-
-
-
-
-
-
-
-
Polygonal wall
-
-
-
-
-
-
-
-
-
-
-
-
-
-
-
-
-
-
-
-
-
-
-
-
-
-
-
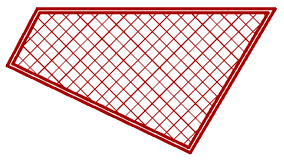
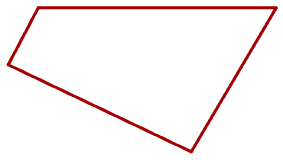
Polygonal wall
 Main menu: Construction - Architecture >
 Add PolyWall.
Toolbar: Add PolyWall (toolbar "Architecture").
 Command line: SPPOLYWALLADD.
Polygonal wall provided in the form of a closed polygon.
The order of insertion
-
1. Call command.
-
2. Specify the first point of the construction of the wall.
-
3. Specify the following point.
-
4. To complete the construction of press Enter. Wall will be closed automatically.
Dialog properties wall
Dialogue can be accessed from the context menu to create a wall, or by right-clicking on the already-built facility.
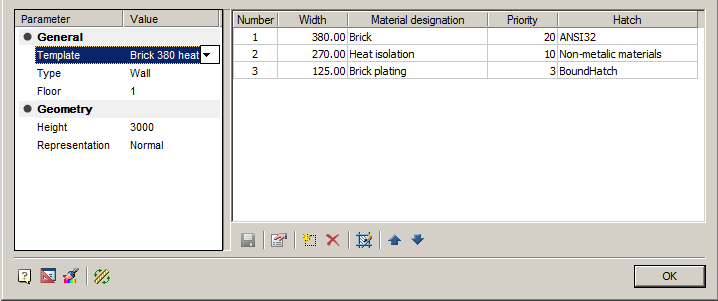
The main parameters of the wall are displayed on the left side of the dialog box. In the right part of the dialog is set composition of the wall. In this case it is possible to create multi-layered walls.
Options
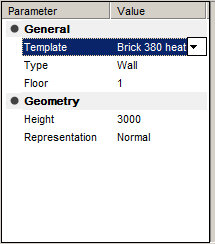
Template - Selecting the wall structure template.
Type - Wall Type: wall or partition.
Floor - Choose the floor
Height - The height of the wall.
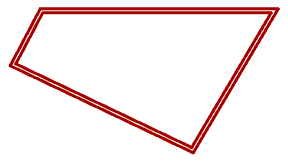
Representation - The representation in the drawing.
| Normal | Simple (without hatch) | Contour |
|---|---|---|
|
|
|
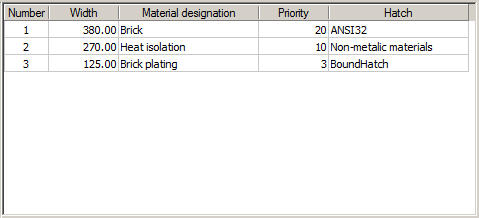
The composition of the wall
All parameters of the wall you can set your own or choose from option "Template". The template determines the composition of the wall, its width and height. If the user changes any of these settings, the connection is lost with the template.
The composition of the wall is controlled by commands:
 -
Wall's materials. Opens the "Wall Material" dialog box, where you can see and edit the list of available materials.
-
Wall's materials. Opens the "Wall Material" dialog box, where you can see and edit the list of available materials.
 -
Add layer. Create a new blank layer as a part of the wall. In the column "Material" it is necessary to choose the desired material from the dropdown list. Layer Priority will determine how cleanup schedules at the intersection of walls: a layer with a higher priority is displayed on top of the layer with a lower priority.
-
Add layer. Create a new blank layer as a part of the wall. In the column "Material" it is necessary to choose the desired material from the dropdown list. Layer Priority will determine how cleanup schedules at the intersection of walls: a layer with a higher priority is displayed on top of the layer with a lower priority.
| Important! |
The last layer of the wall fills the remaining space inside the wall, regardless of the specified width. |
 -
Remove layer. Removes a layer from the walls.
-
Remove layer. Removes a layer from the walls.
 -
Hatch. It allows you to create or change the shading layer.
-
Hatch. It allows you to create or change the shading layer.
 - Move up. Moves in the list of layers of the active layer on the line above.
 -
Move down. Moves in the list of layers of the active layer on the line below.
-
Move down. Moves in the list of layers of the active layer on the line below.
 - Flip wall. Visually changes the order of the layers of the wall.