-
-
-
-
-
-
-
-
-
-
-
-
-
-
-
-
-
-
-
-
-
-
-
-
-
-
-
-
-
-
-
-
-
-
-
-
-
-
Create Sheet Set
-
-
-
-
-
-
-
-
-
-
-
Create Sheet Set
 nanoCAD button -
 New >
New >  New Sheetset
 Menu: File –
  New Sheet Set…
 Drop-down list of the Sheet Set Manager functional bar: New Sheet Set …
 Command line: NEWSHEETSET
The New Sheet Set command is implemented as a wizard of four pages. Select creation mode on the first page: from scratch (with choosing the drawings to be included) or from the pattern of another sheet set.
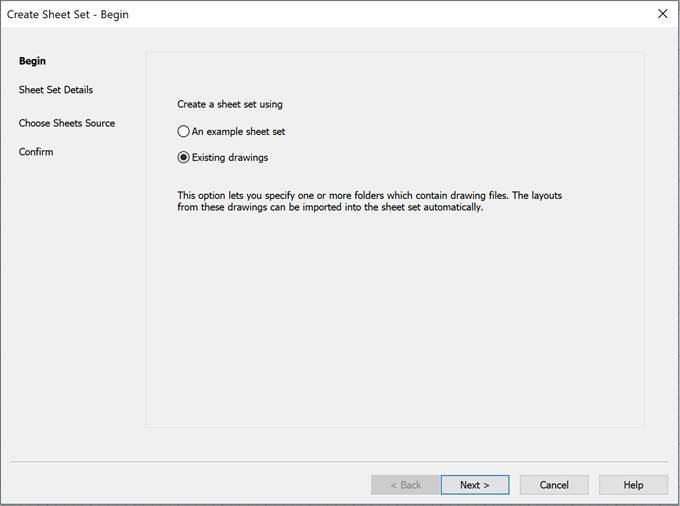
To create a new sheet set using existing drawings:
1. Choose Existing drawings from the Create a sheet set using options. Click the Next > button.
2. On the page Sheet Set Details put name of the new sheet set data file (.dst file).
3. On the same page click the Sheet Set Properties button and in the Sheet Set Properties window input necessary data for the sheet set (project number, project name etc.).
4. Click Next > and go to the Choose Layouts page.
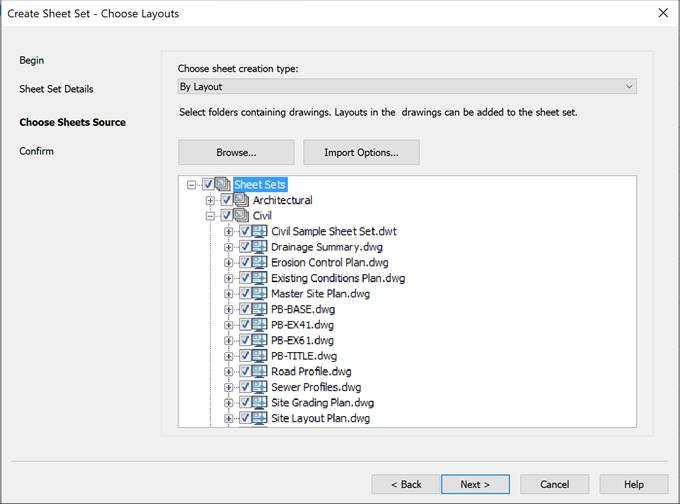
5. In the Choose sheet set type drop-down list: take By Layout for the set of layouts, and take By Named View for the set of views.
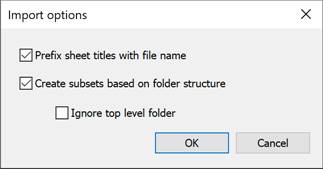
6. Using the Import Options… button arrange settings for creation of sheet subsets based on folder structure.
7. On the Choose Sheet Source wizard’s page click the Browse… button and select folder whose structure should be transferred as a tree to the central part of the Choose Layouts page. Repeat folder choosing if you want to add more layouts or views.
8. In the tree check the layouts to be included into the set of layouts or the views to be included into the set of views.
9. Using Next > go to wizard’s Finish page.
10. To complete sheet set creation click the Finish button.
If the Create subsets based on folder structure checkbox was unset in the Import Options… dialog box then all the subfolders of the selected drawing files folder will be included into the sheet set as sheet subsets with the same names.
To create a sheet set using an example sheet set:
1. Select An example sheet set option in the Create a sheet set using radio buttons group. Click the Next > button.
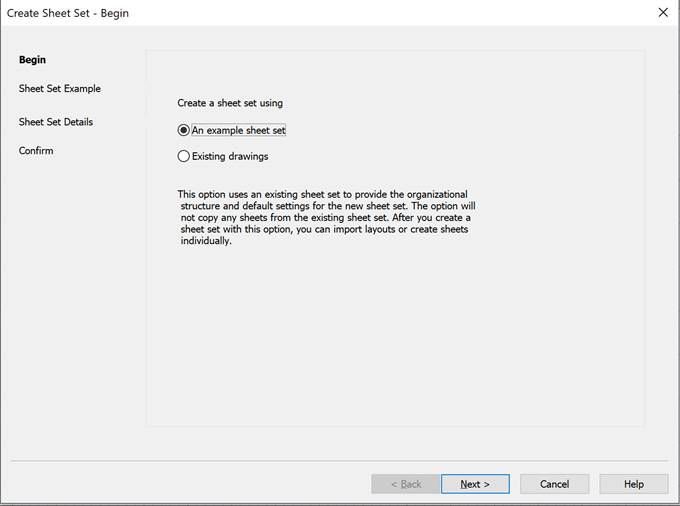
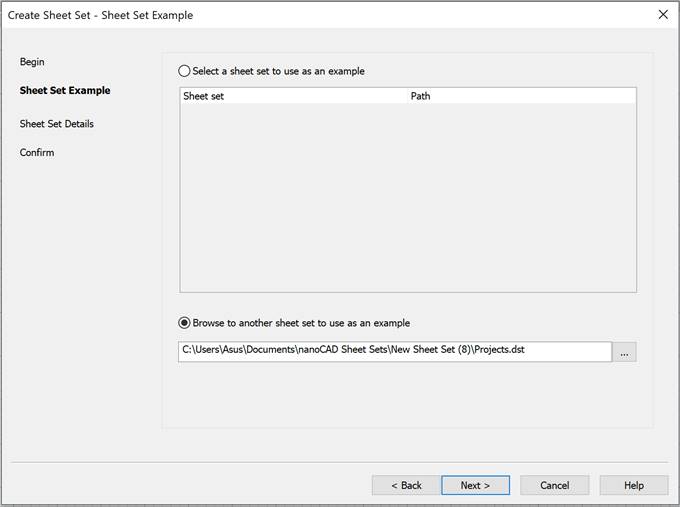
1. On the Sheet Set Example page, select the option: Select a sheet set to use as an example or Browse to another sheet set to use as an example. For the first case, the list in the center of the window contains a list of standard options supplied with the current version, in which you should mark the appropriate sample. In the second case (Browse to another sheet set to use as an example), the user should use the  button to select one of the existing DST data files of the documentation set, which should be taken as an example. Press the Next > button.
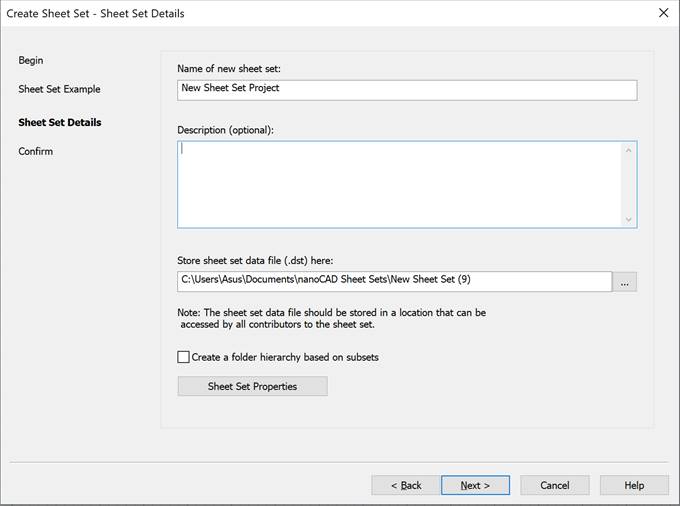
 On the Sheet Set Details page enter sheet set name, description and path to folder for placement. Fill in sheet set properties (use the Sheet Set Properties button).
2.  Examine thoroughly shown sheet set parameters on the Finish page.
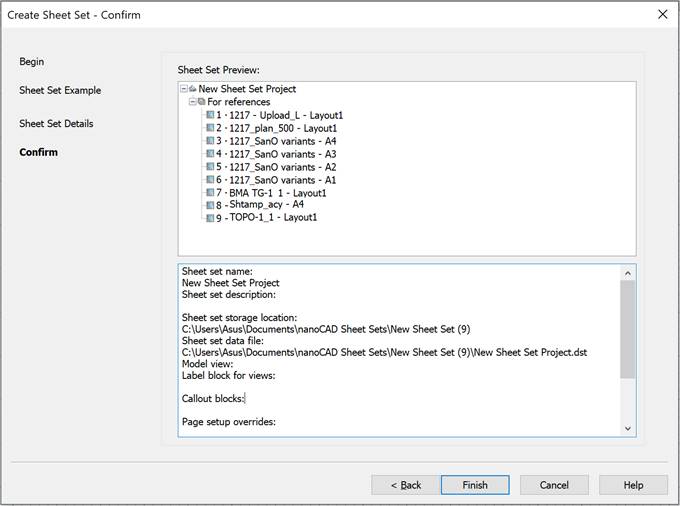
3. Click Finish.
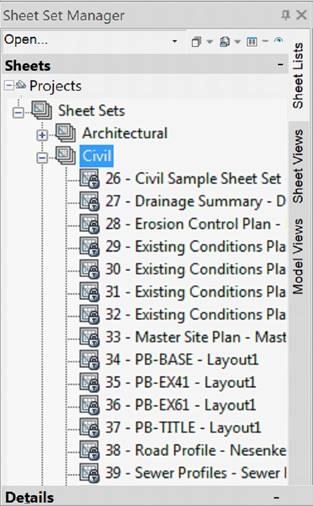
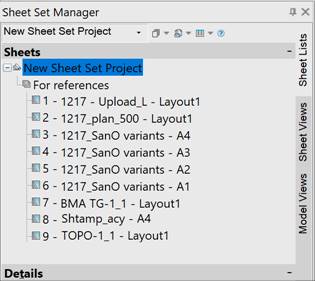
As a result of this operation you get a sheet set tree in the center of the Sheet Set Manager functional bar. The tree based on the chosen example. The tree contains sheet subsets only and they are empty. You should add layouts and views later.


 De
De  Es
Es  Fr
Fr  Pt
Pt 
