-
-
-
-
-
-
-
-
-
-
-
-
-
-
3D Orbit
-
-
-
-
-
-
-
-
-
-
-
-
-
-
-
-
-
-
-
-
-
-
-
-
-
-
-
-
-
-
-
-
-
-
-
-
-
3D Orbit
 Ribbon: View – Navigate >
  Orbit
Orbit
 Ribbon: Point clouds – Navigate >
  3D Orbit
 Menu: View – Orbit >
  3D Orbit
 Toolbar: View –
 Command Line: 3DORBIT

 hold down the mouse wheel + SHIFT
Rotate view in 3D when camera moves on horizontal and vertical orbits.
Cursor will be changed to:  .
.
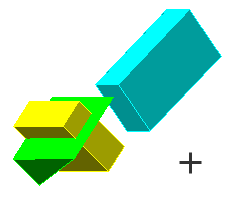
The target of the view stays stationary while the camera location, or point of view, moves by mouse movements.
If you are moving cursor horizontally – camera is moving in XY plane of the WCS. If you are moving cursor vertically – camera is moving along Z-axis.
The example below shows the rotation of the view relative to a point located on a translucent object “window glass”.
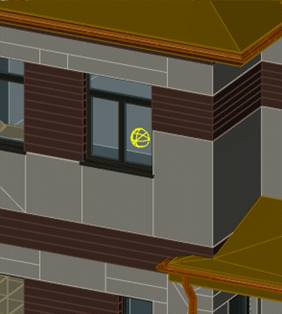
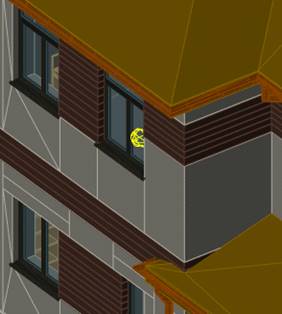
You can set orbit options in Mouse settings – 3D Orbit settings – Orbit center in Options dialog box.
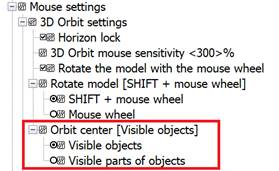
Set one of two center point location:
Parameters:
|
Visible objects |
Center of the objects you’re viewing is the center of orbit. Thus if you see the part of circle, center of this circle is orbit center. |
|
Visible parts of objects |
Center of the objects parts you’re viewing is the center of orbit. Thus if you see the part of circle, center of this part is orbit center. |
The Orbit command can be activated at any time in out-of-command mode by pressing the mouse wheel or by pressing SHIFT + wheel, depending on the settings:
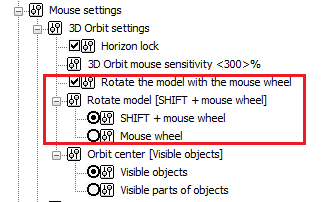
To disable the possibility to call the Orbit using the mouse wheel (with and without SHIFT), uncheck Rotate the model with the mouse wheel box. This can be useful when working in a 2D projection, for example, with a geodetic plan.


 De
De  Es
Es  Fr
Fr  Pt
Pt 
