De
De  Es
Es  Fr
Fr  Pt
Pt 

-
-
-
-
-
Functional Bars
-
-
-
-
-
-
-
-
-
-
-
-
-
-
-
-
-
-
-
-
-
-
-
-
-
-
-
-
-
-
-
-
-
-
-
-
-
-
-
-
-
-
Functional Bars
Functional bars are non-modal dialog boxes.
In most cases functional bars display certain information (about current document, selected objects, change history, etc.), allow you to change some of displayed parameters or apply certain actions or commands to them. It is convenient to keep these panels open during the program work.
Functional bars have a number of advantages over regular dialog boxes. Unlike dialog boxes, active functional bars do not prevent from full-fledged work with documents, performing any commands.
They update their content on the fly reflecting (and allowing to edit) up-to date information about a drawing, its properties and objects. For example, Properties bar is used to display options of selected objects, to change objects’ properties, as well as to set selection mode and launch selection commands.
When switching to another drawing or workspace, toolbars change their content displaying information and parameters relevant to the current workspace and drawing.
The ways to show/hide functional toolbar are the following:
· Ribbon: Manage – Palettes

· Menu: View – Toolbars > Functional menu
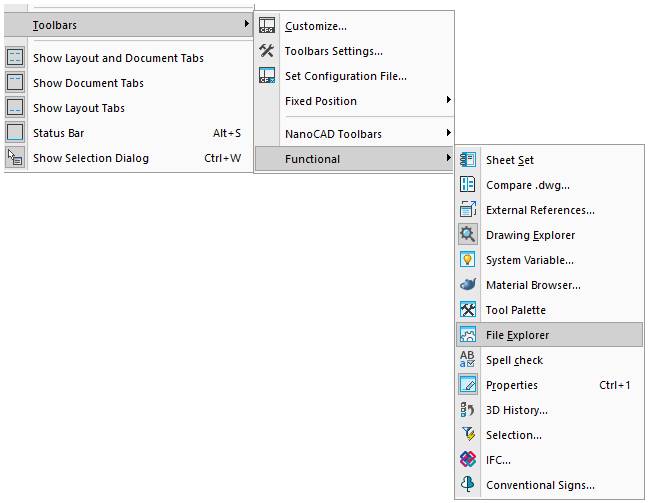
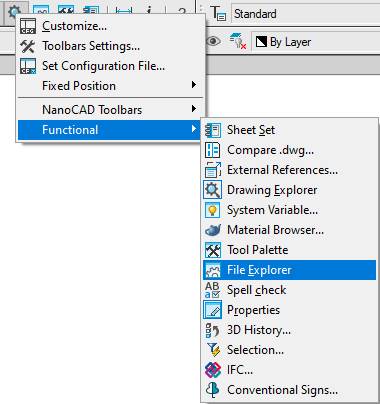
· Context menu called by the right mouse click at any toolbar.
· Entering the command corresponding to the toolbar in the command line:
· Layers
· Tools
· IFC
· Entering the Tab Manager (TABS, PANEL) command in the command line for the functional toolbars Selection, IFC, I F C Properties, 3D History.
Combining tool palettes
You can keep several palettes open at the same time. Functional toolbars can be combined into single blocks, attached to the borders of other parts of the interface, and switched between them using bookmarks.
Only the active palette will be displayed on the screen, while the rest ones combined with it will be displayed as bookmarks. You can switch between combined palettes using bookmarks located in the bottom of the active palette.
To combine tool palettes , drag the title of one palette onto the title of another one. The order of tabs can be changed by dragging. To separate a palette, click on its tab and drag it into a drawing field holding the mouse button.
Attaching tool palettes
The position of interface elements is changed by their dragging with the mouse pointer by the header. To do
· Press the left mouse button on the tool palette header and, holding the button down, drag it to the field of the window to which the palette being moved should be attached. An icon will appear in the center of the window, which allows you to specify the place of attaching the palette in this window.
· Continuing to hold the mouse button down, move the cursor over one of the icons:
The outermost icons are used to attach a palette to one of the window sides, the central one – to attach a palette as a tab.
The future position of a tool palette will be indicated with a blue field in the window. If this position is satisfactory – release the mouse button.
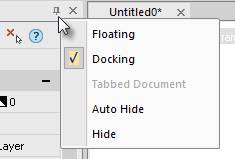
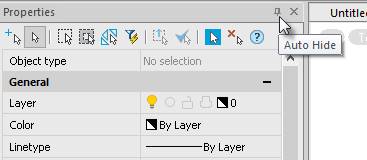
A palette attached to the window can be switched to the state of a pop-up tab. To do this, click on a pushpin icon in the toolbar header:
In addition, the context menu with methods of attaching and displaying is available: