-
-
-
-
-
-
-
-
-
-
-
-
Classification of Cloud Points
-
-
-
-
-
-
-
-
-
-
Classification of Cloud Points
Classification commands change the Class attribute for points of the cloud for convenience of further processing.
General Principle of Classification Commands
Classification commands work as follows:
· Defining source point classes;
· Defining the target class;
· Specifying points accordance to criteria used by the started classification command.
Presence of Class attribute in cloud points
If during import the cloud did not have Class attribute, when trying to classify points of such cloud, a message will appear in the command line:
Selected point clouds has no Class attribute, to be able to use classification procedures, you must switch on it
In this case, it is necessary to create Class attribute for cloud points. To do this, in the Storage structure section of the Point Cloud Statistics dialog
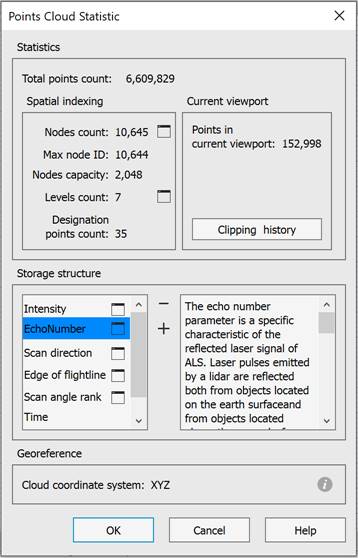
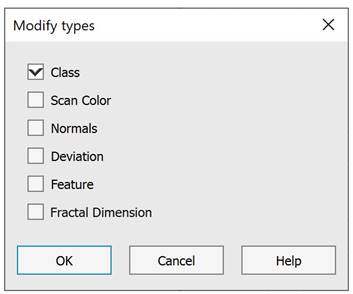
click the button, followed by selection from the list in the Add types dialog.
check the Class and create layer boxes.
After that a new layer Created (never classified) (code 0) with description FC#0 will appear. All cloud points are classified into the same name class with code 0.
Defining source point classes
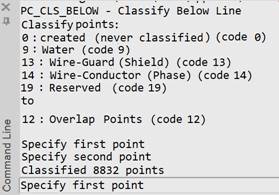
Classification commands allow you to select points for classification by these or those criteria. In addition, selection is made only among the points located on all visible, unblocked and unfrozen layers, associated with point classes. Associated layers contain in the description the class number in the form: FC#N, where FC# is the mandatory index, N – class number.
Layers are created automatically if Auto fill code layers checkbox was selected in import.
It is possible to create such layers manually by writing in Description field the class number in the form FC#N.
note: If you assign the same class number to several layers, a warning will appear. At the same time, classification commands will work anyway, but only with the first class from layers repeating in the list.
If layers were not associated with point classes, then at the start of the classification command the dialog for selecting source classes will open:
Specifying a destination class
As a result of the classification commands, the specified cloud points will be classified into the destination class with the code indicated in the description to the current associated layer. In other words, the current layer will be assigned to the points as the layer, while the Class attribute will be assigned with the code specified in the description of the current layer after the # symbol.
To specify the destination class, just set the desired current layer before running the classification command.
If the current layer is not associated with any class (i.e., the Description field is not filled), then the specified cloud points will be classified into the Created (never classified) (code 0) and a layer of the same name with FC#0 description will be created.
You can change the destination class by selecting the Yes option in response to the prompt in the command line after the command starts:
Apply changes [Yes/No/Save/saveDefault/] <Yes>:
If Yes option is selected (or if the destination class has never been specified), a dialog box for selecting the destination class will appear.
By default, the Created (never classified) (code 0) is selected.
You can specify a class from the list generated based on the LAS classification, or you can assign your own.
When selecting a class, a layer of the same name will be automatically created and associated with it (the code will be written in the Description field of the layer). When selecting the Custom class and specifying the code from 1 to 18, the class corresponding to this code will be assigned from the list of classes by LAS classification.
|
If you specify a code greater than 18, the Reserved class will be created and associated with the layer of the same name.